Showing posts with label #WWII. Show all posts

Friday, December 27, 2013

My Own Game Table


W00t! My own game table. I cleared out the spare room in our basement. You can still see the remnants of clutter. It is a 6' by 4' table. The table is just a piece of plywood on top of a folding table. The "grass" is green felt from Joann's. On sale. I have a mix of terrain features that I have been collecting over the last couple of years. Now...I just need to game!

WIP: Normandy Farmhouse and Barn

I finished up the Normandy Farmhouse and Barn. I think they turned out pretty good. Here they are on my table! That's right MY table. In MY basement.


I had some trouble with the roof of the house. As you can see, it doesn't sit perfectly. I left the roofs off the structures so the little mens can get in. Neither building has a second floor. I am thinking of correcting that with a little bit of plasticard and balsa wood.

Monday, November 18, 2013

WIP: Normandy Farm House and Barn.

I picked up the Normandy Farm House and Barn from Najewitz Modellbau. 

I am so excited. I have also cleaned out a space in the basement and set up a 6' x 4' table!

Above is a shot of the house. You can see a little Green Stuff on both the bottom corners. This was my first attempt at green stuff. I have used green putty before. Green stuff was great.

The corners had broken off. Not sure when. But I shaped a small brick together and stuck it in the bottom corner. Worked like a charm. I need to sand this a little but it worked out great.


Here is the barn. The windows and doors were not perfect fits. A little more green stuff and I had the cracks sealed up.


This is the roof of the barn. This needed a large amount of green stuff to fill in the gaps. I probably should have used putty here but it was good practice. I am also going to flip this over and lay in a coating of putty on the reverse side of the roof join. Just to strengthen it up. I want to leave the roofs separate so we can lift them off if any of our metal mans need to duck in for some cover.

The roof of the house had some join problems too. I haven't puttied it yet. But I will. Hope to have these done by the new year.

Comparison: 1:48 Jadgpanther vs. 28mm Halftrack

Thought I would show the size differential between the jadgpanther and the half-track.


It is pretty big. But again, I like the bigger size on the tanks. That thing will show up on a table. The half-track can get lost.

WIP: Sd.kfz 251/1 Ausf C Hanomag (Complete)

Jeff at Pair-A-Dice started carrying Bolt Action figures! W00t! I went down and picked up this halftrack.


I really tried to muddy this thing up. Front view is just about all mud. 


Green camo only. No red on this one. Just for some variety.

The machine gun mount in the back already broke off. I intend to just lay the MG in the open bed so we know it is there. I also need to paint the MG gunner.

This is 28mm. I just think it is too small. It holds up against the figures just fine. I probably should have taken a picture next to a mini. Sorry.

WIP: Jadgpanther! (Complete)

Around this time of year, it gets a little crazy around the Legion. Our daughter is involved in a million different activities. I spend a LOT of time sitting in our car, waiting to pick her up. She is almost 13. I keep trying to get her to drive herself. :) Anyway, I have been remiss in posting. I HAVE been slowly but surely working on various projects.

I have always loved the Jadgpanter. This is a 1:48 scale model from Bandai/Tamiya. This is all hand painted. No airbrush. I am really pleased with how it came out. I have been working on my weathering skills with pigment.  Click for larger pictures.

 Front view.
 Other side view.
 I can't wait to use this in a battle. Although, I have not been having good luck with tanks lately. I like the 1:48 scale for vehicles. 28mm feels too small as you will see in the next couple of posts.

Friday, September 20, 2013

Way Cool Late War German 'Mech


 This deserved its own post. I wanted to show some pictures on this Japanese Anime 'mech I had painted up to be a Secret Nazi Experiment. My painter, and all around good dude, Brian, did an AWESOME job on this guy. I had him use a "Sparkle" pattern that was seen on many warships during the war. It just rang true to me. Think of this thing as a "land battleship" and it will begin to make sense. 


Brian had painted on a German identifier. I didn't take a picture of it. :( I added the one to the top and the numerals. This is the 73 prototype.

My plan is to use this as an objective marker. I suppose I could write up some rules for it. But my vision is to just really have this thing sitting in a warehouse that the opposing force needs to go blow up. :)

Completed Terrain

I've been working on terrain lately. I made some great ebay finds on some O scale fences and telephone poles.


The fences have only been primed. And this is only one batch. I have about 5 or 6 more sections.

I also started working on some felt road pieces. I saw roads done nicely at the This Very Blog site. I decided to copy the method. Brown felt, these are 2 foot strips. Spray paint the felt with a textured paint. $6 for a can, $6 for the felt. Then I took some sandy brown craft store paint and drybrushed the sides and middle to create "tracks". My 12 year old daughter was impressed. :)


When I bought the sandbag Indiegogo from Baueda, Claudio included 2 extra "bases" and also some free miscellaneous pieces. I created a third base with the pieces. I will use these as terrain or objective markers. By the way, I officially started using Army Painter Strong Tone ink on these. It works.

I love the detail on this one. Different types of crates. Tarps, bags, and the rifle laying on top.
This is the one I put together. Some of these pieces might actually be from the Verlinden set I got for the Sherman. They look good together. Baueda is the big pallet of tarp covered crates and the barrels. I tried to paint the bucket on top so it looked like it was full of water. I think it came out ok.
 Trying to work out using the Rust pigments. I still need some practice. I like that these bases have a spot in the middle to insert a 28mm figure. To meet the objective, you need to have one little mans in the circle. :)

Monday, September 2, 2013

Sherman Finished!

 I put some muddy weathering and the dull coat on the Sherman this morning. I am really very happy with how it came out overall. Prime, basecoat, wash, highlight, weather. Those are the steps. I wish I had a bigger decal to lay over the engine vents in the back. But I don't and I am not going to worry about it. I cannot wait to get this thing on the field.
In the picture on the right, I see a tiny problem. There is a vent on the turret that is showing the primer I used. I finished up a can of Army Painter Desert Yellow and you can see it. I will not make that mistake again. I always have primed black. I will start doing that again.

Last note. After I put the decals on, I applied a wash to dirty them up. I left some spotty areas. Those, I think, were quickly fixed by the mud spray effect.

Let me know your thoughts!

Friday, August 30, 2013

Sherman WIP +1

I just finished putting a wash on the Sherman.


Next step is a highlight with a mix of Violet Brown and Desert Yellow on the hull and turret. OOO....I can see some spots on the wheels and tracks that I need to touch up. Son of a biscuit! The wash is drying as I type. I think it looks good. I am going to wash the tracks in a more muddy color - sepia.

I really like the sandbags and other small bits of stowage I have.

Monday, August 26, 2013

WIP: 1:48 scale Sherman

It took me awhile to put together, but I put the treads on over the weekend and primed this 1/48 scale Sherman Tank from Hobby Boss.


The stowage is from a kit by Verlinden. If you look inside the hull in the top picture, you can see the washers I added to make the model a little heavier. I like the size of the 1/48 models for 28mm games. The lightness of the plastic just worries me a little. So I like to weight them down.

I am still on disability from having a blood clot so I will start applying the base coat today. I am waiting on some Army Painter Strong Tone ink to be delivered for the wash.

The Verlinden kit was great. I have a ton of parts left over. The sandbags were easy to manipulate. I love the spare tank tread. I should have taken a rear view...the back has a couple of gas cans and a bucket. But the best part from the kit may have been the antenna. Because the kit asks you to heat up some plastic. Pfft - no way.

Tuesday, July 30, 2013

WIP: Baueda Ruined Building and Sandbag Emplacement

 The sandbag emplacement is coming along. I've done most of the base colors. I still need to do some ammo boxes. But the wood and oil barrels are done. Next is drybrush highlighting and then hitting the sandbags.


The ruined building finally got assembled. I had to use some putty. It is not exactly square but I am not too worried about it. After reading The Guns at Last Light: The War in Western Europe, 1944-1945, I am not too worried but everything was completely blown to hell anyway. A little putty will look authentic. I primed in Vallejo Desert Yellow (almost out!) and then started painting everything in Iraqui Sand. Going to use that as my mortar color. Will drybrush a brick color over the top, hopefully letting the joints show through. There will be some gray on some of the decorative pieces like over the windows and the ledges.

Wednesday, July 17, 2013

WIP: Part II Baueda 1:48 Ruined Building

Well, I took a pass at the flash on all 3 sides and the floor of the building. I need to go back and hit the two on the left - the ones with doorways. I got a little aggressive on the right-most section.

The two on the left have molding left. I don't know if I will trim it all. I might use the drum sander and then build up the window piece with some putty. I am worried that if I cut away the molding under the doors that I will lose stability on those pieces and they will flex.

Monday, July 15, 2013

WIP: Baueda 1:48 Ruined Building 481FN1

I probably should not be doing this, but I am taking it nice and slow. Two weeks ago, I had a blood clot removed from my head. I am doing ok but just not completely recovered. I am going a bit stir crazy. There is only so much TV I can watch.

I started putting together the 481FN1 ruined building model from Baueda.  I sawed off some mold flashing on the base plate and the short wall. It wasn't too terrible. I just needed to be slow about cutting in a guide to the pieces. Then you just let the knife/saw do the work.

I honestly shouldn't be sawing. I will go slower. Not two pieces in a day. There are two pieces left. Then I will need to use the sander drums on the drill to smooth some rough pieces out. So far so good.

Thursday, June 13, 2013

Finished US Infantry

I just finished up basing and applying transfers to 20 US Infantry for Bolt Action.

They were painted by Brian out of Pair-A-Dice games in Rochester, NY. Brian did an amazing job! I based them and applied the shoulder patches (flag and rank insignia). I've decided I need glasses on a more permanent basis. :)

The basing was pretty easy. Rock mix, paint and highlight. Static grass. Tuft. I did add a metal washer to the bottom of the Warlord base to give it some weight. The plastic is too light. I find that I knock these things all over the place.
I like the flowers on this guy. I have a set of these. I only added them to a few of the minis. These are white, others are in yellow. I think they make for a nice change of pace from the standard tuft of grass.


Sunday, January 20, 2013

Battle Report: Bolt Action January 20, 2013

Jon L. organized a Winter Games Day at his church in Henrietta yesterday. I got in another fun game of Bolt Action. We played a 2 on 2 game. I brought my American Airborne supplemented by another airborne unit of Jon's. My partners had British troops. We were playing against Gary C. and Bo as the Germans. The scenario was for the Germans to "hold until relieved" the crossroads in the middle of the town. Here's a shot of the initial deployment:


My forces are deployed on the bottom quadrant (if you will). Bo had an infantry unit hiding in the leftmost house on the far side of the road. There is an observer and a MG team in the right most house on the far side of the road too.


We essentially played two games on the same board. We weren't really all that integrated in our attacks. It was me against Bo. My plan was to run around the left flank, let my mortar team do its job and then clear houses and Bo's mortar.


Turn 2 or 3 on the right. I have a command stand on the corner of the near house. These are working as observers for my mortar. I have an MG team in the house too. Infantry is in cover except from the mortar. Mortar mechanics are interesting. It takes a 6 to hit the first time. If the target does not move it goes to a 5 and so on. If you hit, from then on, it hits on a 2. As long as the target doesn't move.


I think I missed a picture. My mortars hit. Bo's mortar kept missing. I hit the house with Bo's infantry. Resulting in a pin marker. Pinning is a dynamic part of the rules that can be your friend or enemy. You have to rally from it. And you take -1 penalties for every marker when shooting. Bo took out my MG team in the house. My infantry teams landed some hits. I effectively took his team  out of commission. I kept the pressure on.


This is a close up of the current turn. Bo did manage to take out some of my Airborne. But I continue the press.


You can see the pin markers stacking up on Bo. The funny side action is in the foremost house on the right. Bo ran a command section at my mortar. They are between the houses. I moved a bazooka team into the house. They are literally right on top of Bo's unit. Neither of us could hit each other! It was funny.


I missed another shot here. I took out the unit in the house finally. Bo actually rolled double 6s which is a FUBAR role. The unit ran from the house into the crossroads and were cut down by my allies. I also took at a MG team that Gary backed out of the house. Another instance of getting some pin markers down. I took out the mortar team. Then I started running towards the crossroads. This was the final turn. We actually failed the objective. We did not take the crossroads. I needed another turn.

I really like this game. 2 on 2 bogged down a little bit with the dice pulls. We could have easily played it as 2, 1 x 1 games. I am really looking forward to playing this more.


Sunday, September 30, 2012

Battle Report: Bolt Action First Game

Jon L. invited me over for a game of the new Bolt Action WWII rules. Quick summary: I really enjoyed playing the rule set. I like a simple set of rules. BA is not overly complicated - it isn't even complicated. It definitely reminds me of earlier Warhammer rules. Which makes sense because there is a connection there. :)

We played Americans versus Germans. I got to use some of my Warlord Bolt Action figures that Rod Stafford had painted for me. I took the Americans and Jon took the Germans. We were playing for capture of the crossroads you see on the right of the picture.

This is the end of the first turn. I made a mistake. You can see my Airborne in the middle, flanked by an element of Rangers. I meant to run the Rangers to the right. Not sure what I was thinking.  I have my AT gun set up on the hill. I am running my Stuart forward. Both to guard the left flank.

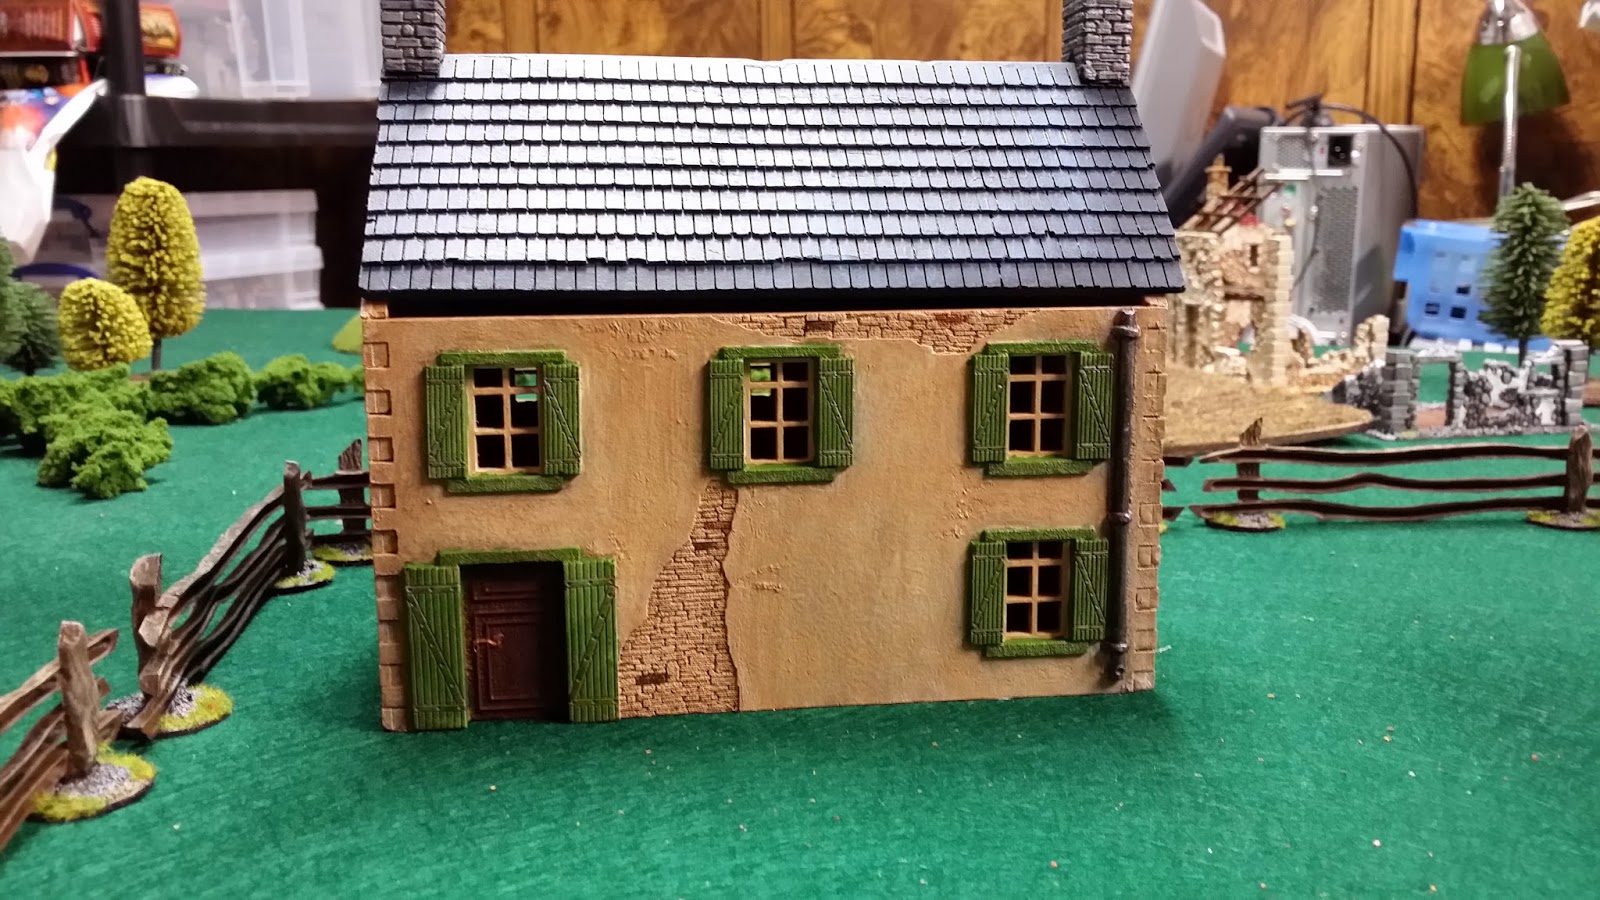
This picture shows my right flank. Bazooka team in the building for overwatch on the crossroads. MG team was heading for that right building. In retrospect, I should have run the jeep with MG farther out to the right.


Here is a view of Jon's Germans. Infantry into the woods. His AT hiding and taking up an overwatch  position. Infantry moving up my right flank. He's got a halftrack and a 222 armored car in the back.


End of turn two: I try to correct my Ranger mistake. This too was a mistake. I should have committed. He who hesitates is lost. Rangers into the woods. Stuart pushes up the flank.


Jon brought the 222 up and the Stuart hammered it and took it out of commission.


My right flank bogs down in a hurry. Jeep was taken out by the infantry. I manage to get the MG team into the small building. Jon also has a sniper in the building in the top right of the picture.


So - Jon tried a series of charges on the Stuart. Maybe as many as five over the whole game. This one was ineffective.


The red are suppression/pin markers. Any shot that hits in an "order" results in a pin mark that has to be cleared via a morale check in the opponent's next turn. You can see the makers piling up on Jon's unit. They took fire from the Stuart, the 3 man officer unit and the Rangers.


Back to my right flank. I've managed to move my Airborne to light cover. They are taking aim at the unit in the building opposite them. My bazooka took out the motorcycle/sidecar with MG. Again...mired over here. The Airborne is just going to get whittled down by the sniper, the infantry unit and the half track which will show up soon.


The Haunted Tank as we started calling it, finally succumbs to a charge. Many panzershreks either whizzed by or stuck into the side without detonating. It finally had to give up the ghost. That Stuart did a lot of damage though.


I conceeded. I was done. Jon took out my truck, so I couldn't move my AT gun. My right flank, the infantry that was pinned had about a dozen pin markers on it. Going nowhere fast. Bazooka team didn't make it. HMG team got shot up. I had a lot of momentum and quickly lost it. I couldn't capitalize.

I look forward to playing again. I need to build out these armies/forces. I will be buying the Bolt Action rules.